Exhibition Stall Design – Ideas, 3D Concepts and Free Quotes from Up to 5 Designers
- Free for exhibitors
- No obligation
- Up to 5 quotes
Good exhibition stall design decides whether visitors walk past or walk in. In the few seconds someone spends looking at your stall from the aisle, it has to say who you are, what you offer and why it is worth stopping. Everything else, from the layout to the lighting, supports those three messages.
This guide covers stall design ideas for different goals and sizes, what you receive at the 2D and 3D stages, and how to brief a designer so the quotes you get can be compared. When you are ready, send one brief and Stand Supplier will pass it to up to 5 stall designers and builders. Their concepts and quotes are free and you choose whether to go ahead. We connect you with designers; we don't design or build stalls ourselves.
Three jobs every stall design has to do
- Get noticed. A clear brand name placed high, one strong image and good lighting make the stall stand out in a hall full of competitors.
- Explain quickly. A visitor should understand what you sell without reading a paragraph. Products on show, a short headline and a screen loop do this better than text-heavy panels.
- Turn interest into conversations. An open front, a counter where staff can greet people and a quiet corner for longer talks help visitors become leads.
Stall design ideas by goal
Showing products
Give the hero product its own lit plinth near the aisle and keep supporting items on shelves or a back wall. Fewer products, well lit, look more premium than a crowded table.
Live demonstrations
Leave floor space in front of the demo area so a small crowd can gather without blocking the aisle, and place a screen behind the presenter for people at the back.
Meetings and closing deals
A semi-closed meeting area or a small room with a table and chairs lets your team talk to buyers away from the noise. Put it towards the back so the front stays open.
Launches
Use height and light to make a moment: a reveal plinth, a large screen or a ceiling feature where the show allows it. Plan the area around where people will stand to watch.
Collecting leads
A welcoming counter at the edge of the stall, a tablet or form for visitor details and something worth taking away keep the flow of contacts steady through the day.
Styles that work well
- Open and minimal: light colours, a few strong graphics and lots of floor space. Good for smaller stalls.
- Product wall: a full-height back wall of shelves or niches, ideal for many small products such as tools, packaging or consumer goods.
- Lounge: soft seating and warm lighting for brands that sell through relationships.
- Screens and technology: video walls and interactive displays for software, electronics and machinery that is hard to bring to the hall.
- Natural materials: wood, fabric and plants for a calmer look that stands apart from white panels.
Designing for the size of your stall
Small stalls (around 9 sqm, 3 x 3 m): one focal point, one message and very little furniture. Wrap the brand across the closed walls and keep the front open.
Medium stalls (around 18 sqm, 6 x 3 m): room for two zones, such as a display area and a counter or a small meeting table.
Large stalls (36 sqm and above): separate zones for display, demos and meetings, storage built into walls, and a hanging sign or tall structure where allowed, so people can find you from across the hall.
How many sides of your space face an aisle changes the design a lot. See our guides to 2 side open stall design and 3 side open stall design, and our page on shell scheme and Octanorm stalls if the organiser provides the walls.
2D and 3D stall design: what you get
Most designers start with a 2D floor plan that shows walls, counters, furniture and walkways from above, often with elevations of each wall. This is where the layout is agreed. The 3D design then shows how the finished stall will look, with materials, colours, graphics and lighting. Ask for views from each aisle a visitor will come from, not just one flattering angle, and check that the 3D design shows your real stall size.
From brief to finished stall
Each step takes time, and the organiser's drawing approval usually has a deadline. Starting early leaves room for at least one round of changes without rushing fabrication.
What to put in your design brief
A clear brief gets you better designs and quotes you can compare. Include:
- the show, venue and dates, and the deadline for drawings;
- stall size and how many sides are open;
- your budget, or a range;
- your logo, brand colours and any brand guidelines;
- the products to display, with sizes and weights;
- what will happen on the stall: demos, meetings, launches, sampling;
- storage, screens, power and internet needs;
- anything you liked or disliked at previous shows.
How to choose a stall designer
- Ask for photos of stalls they have actually built, not only 3D renders.
- Check whether they fabricate in their own workshop or through a partner.
- Agree how many rounds of design changes are included.
- Make sure the quote is itemised, so you can see what is and isn't covered.
- Ask who owns the design and whether parts can be reused at your next show.
Stall, booth or stand?
They mean the same thing. In India most people say "stall"; in the UK, Europe and the Middle East "stand" is more common, and in North America "booth". Designers and builders use all three.
Exhibition stall design in your city
If your show is in one of the cities we cover, see the local design page:
How it works
Three steps from brief to the right stand builder.
Tell us about your stand
Share the event, city, stand size and budget in one short form. Send your requirement.
We find up to 5 stand builders
Our team selects builders suited to your event and city, and passes them your brief.
Compare and choose
Compare designs and prices, and choose the one that fits. It is free, with no obligation.
Why use Stand Supplier
We connect you with builders. We never build stalls ourselves.
Save time
One short form instead of calling builders one by one.
Compare prices
Compare stall design ideas and prices from several designers before you commit.
Free, no obligation
You never pay us, and you don't have to accept any quote.
Deal directly
The contract is between you and the builder you choose.
Get up to 5 free quotes for your stall
Tell us about your stand once. We pass your brief to up to 5 stand builders, free and with no obligation.
- You send one brief with your show, stand and contact details.
- We pass it to up to 5 stand builders suited to your event and city.
- You compare their proposals and choose the one that fits, or none.
- Free for exhibitors
- You deal directly with the builder
Frequently asked questions
More stall layout guides
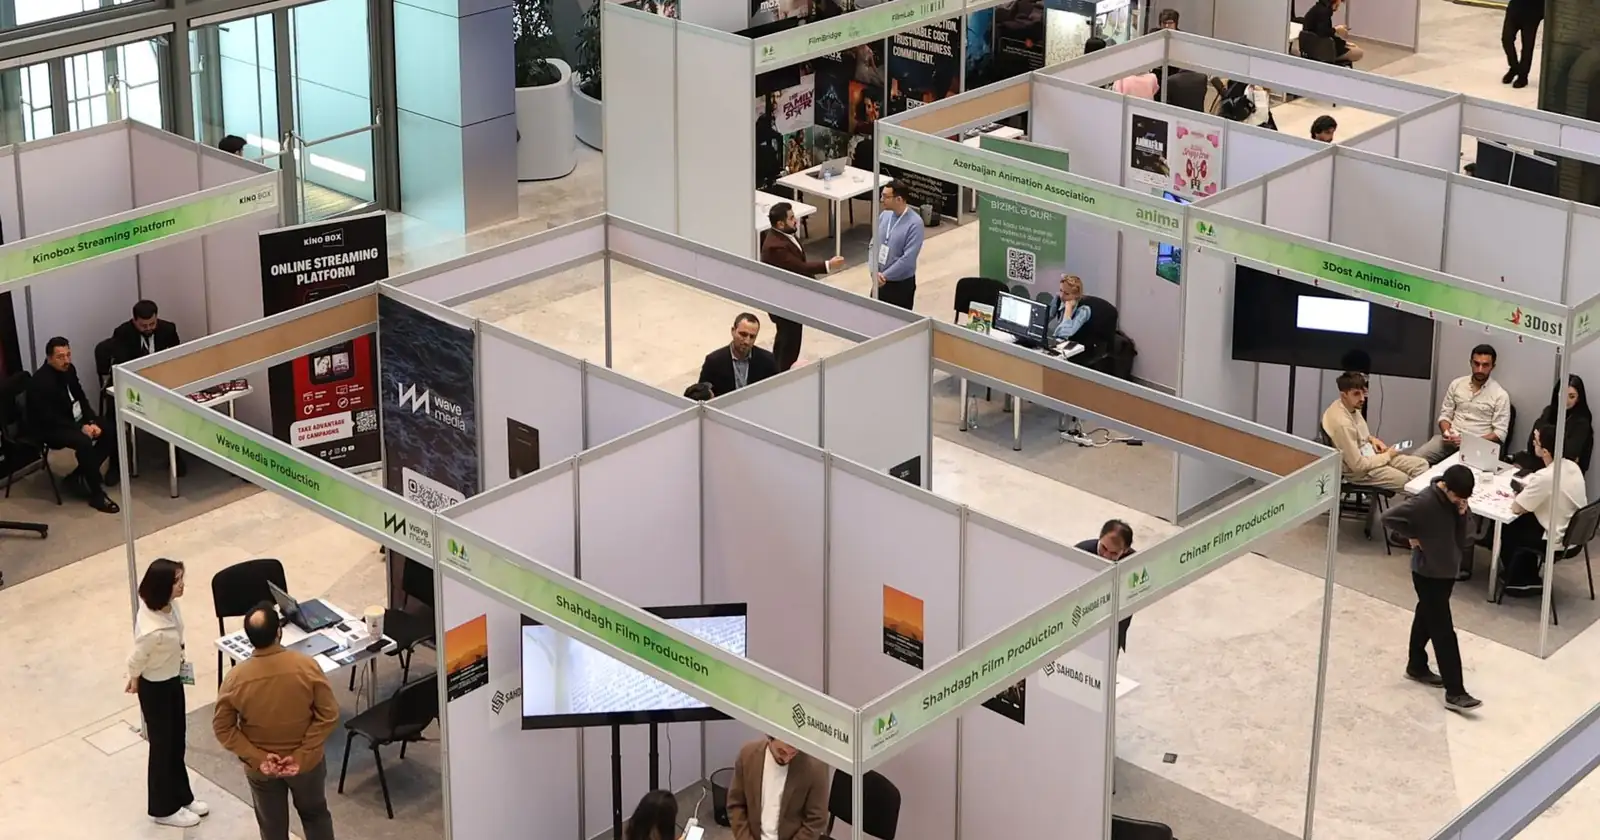
2 Side Open Stall Design
Corner stalls are seen from two aisles. Layout ideas by size, the rules to check, and free quotes from builders.
Learn more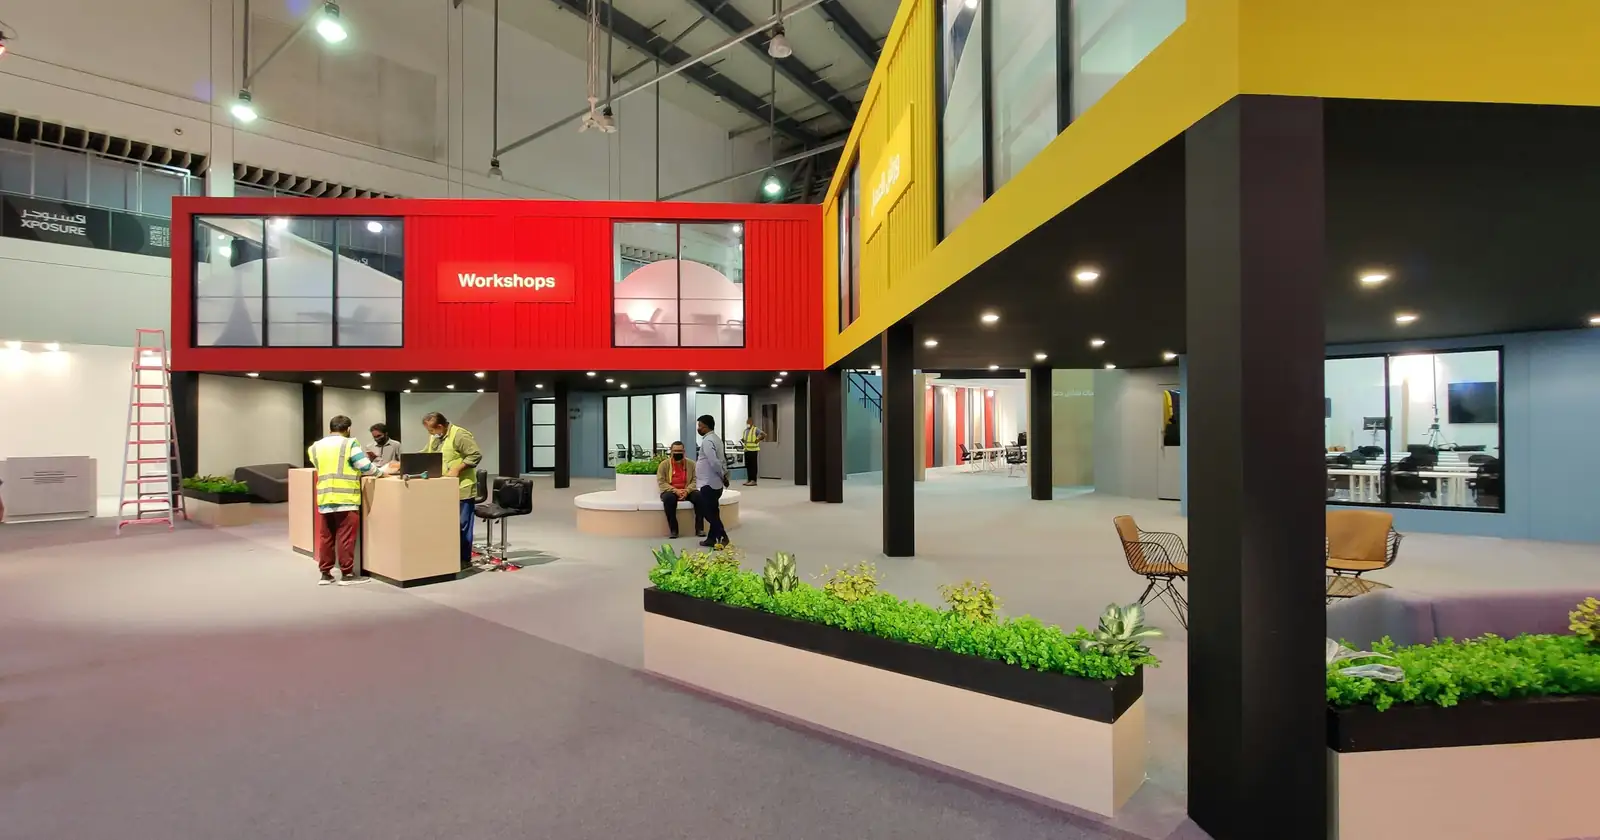
3 Side Open Stall Design
Peninsula stalls are open on three sides. How to use the single back wall, layouts by size, and free quotes.
Learn more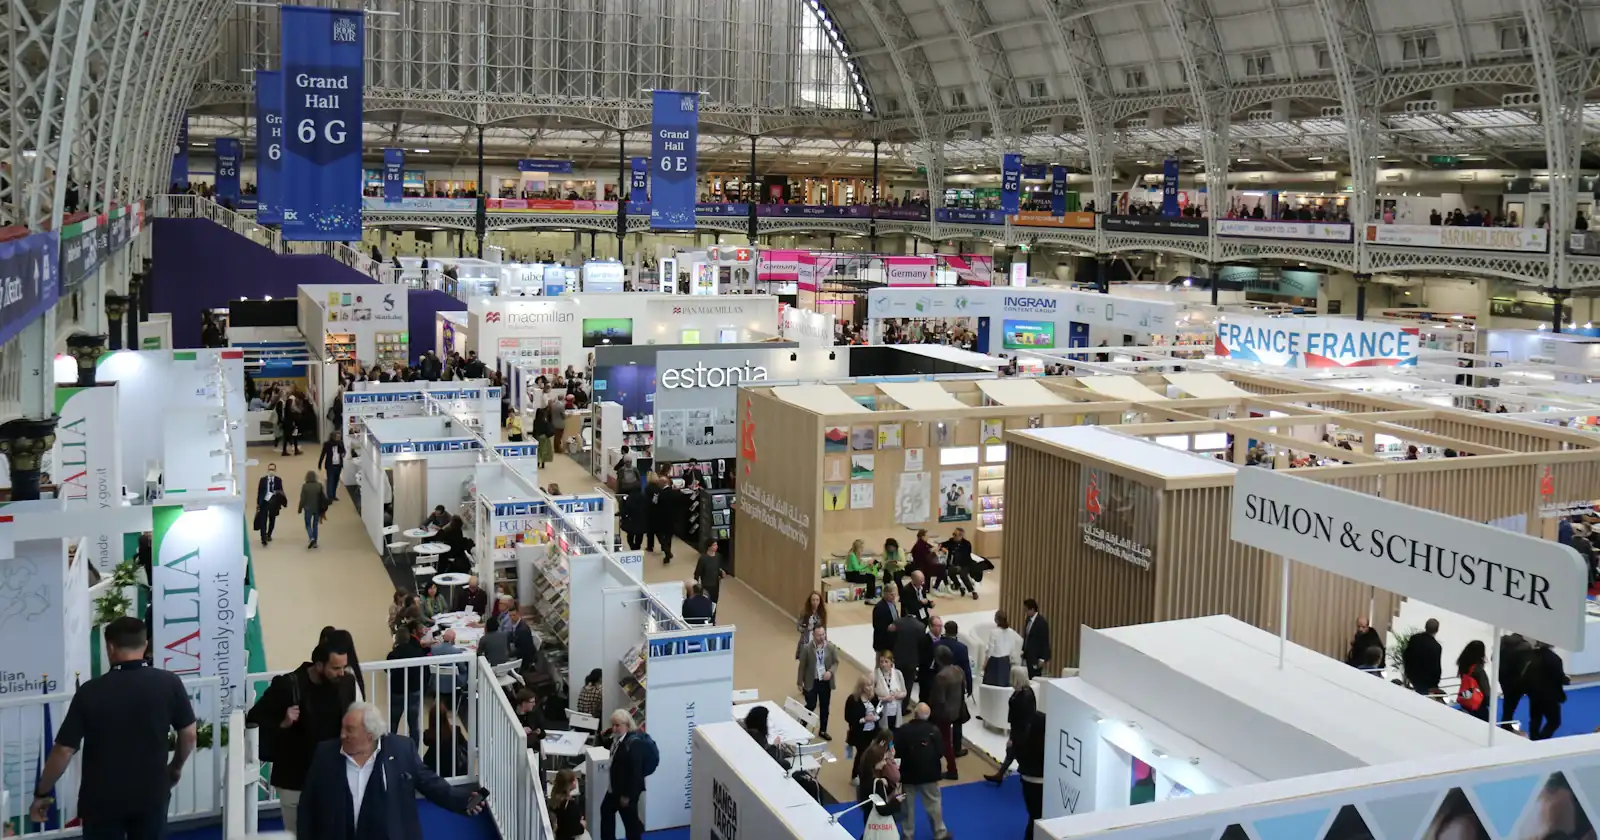
Shell Scheme Stall and Octanorm Stall
Shell scheme, Octanorm (modular) or custom: what each one is, when to choose it, and how to make a shell scheme look its best.
Learn more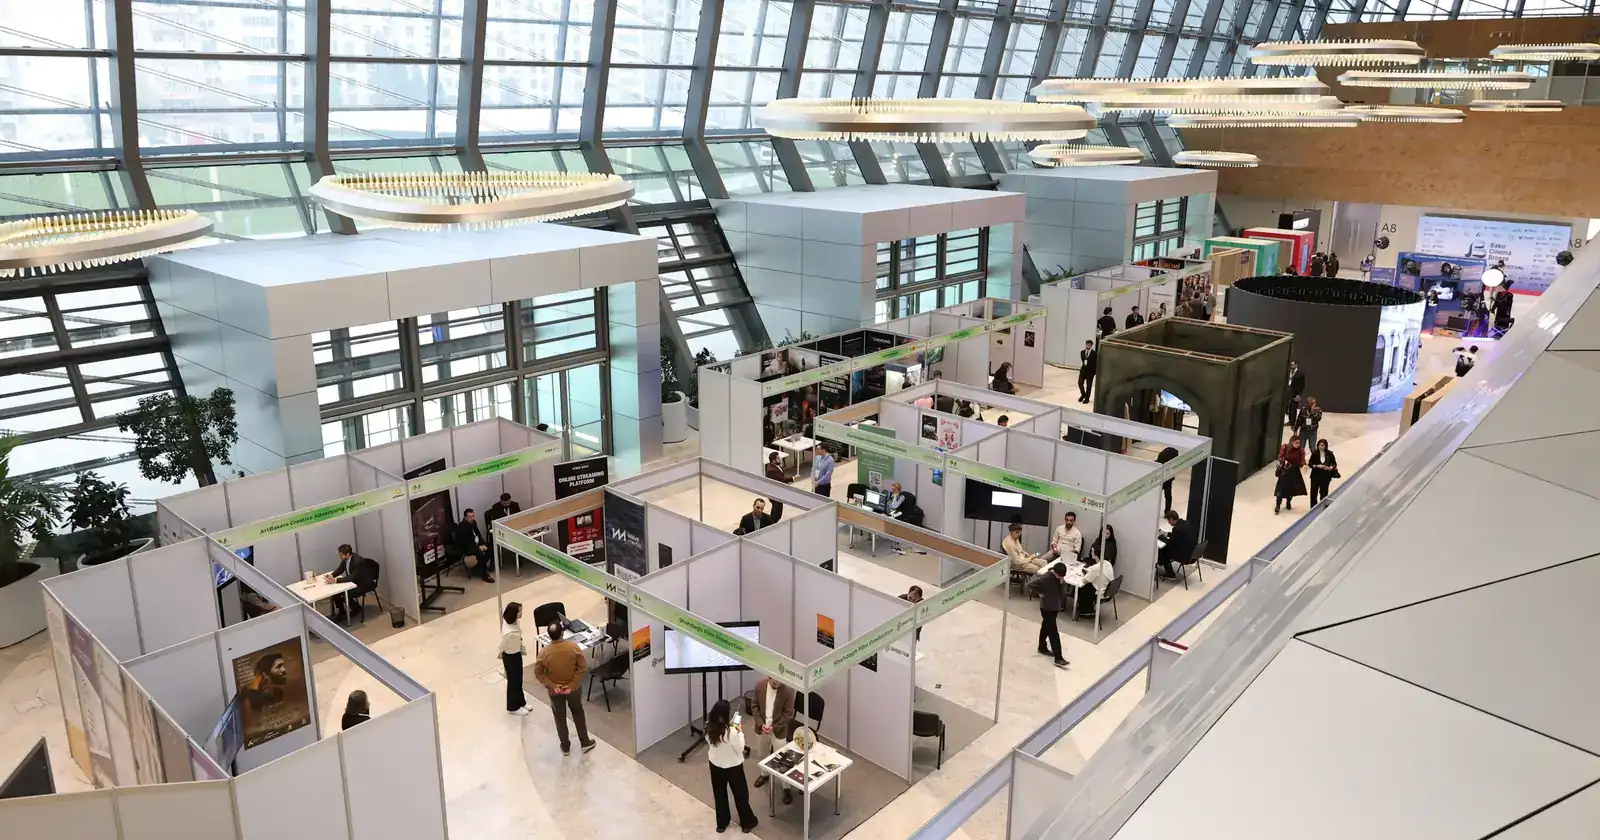
Exhibition Stall on Rent
What a rented stall includes, when renting beats building, what you can customise and what to ask before you book.
Learn moreAre you an exhibition stand builder?
Register your company to receive stand requests from exhibitors in the countries you serve. Your account is activated by our team, then requests start coming in.